Introduction
Measuring the quantity and maintaining the volume of stockpiles, cut & fill in heavy earthwork industries is quite hard job to done, hence the traditional survey methods are inaccurate and can measure up to 85% accurate of original volumes. Measuring a stockpile volume using 3D Laser Scanning is by far the quickest and safest method available. Whether it is land backfill, aggregate, coal, wood chips, asphalt or anything else, the scanner can cover everything in 3D and make volume out of it. This improved accuracy enables to tighten up worksite operations for teams, from financial forecasting to supply-chain management to accurate reconciliation.

Background
Laser scanning technologies have been available for a few decades and are becoming an ever more accepted and affordable way of performing topographic surveys. The technology was initially restricted to military and space applications as the cost was prohibitive. Today it is becoming more accessible in surveying and mapping applications. 3D Scanning developed in an attempt to accurately recreate the surfaces of various objects and places. The technology is especially helpful in fields of research and design.

Importance
The Land Filling, Cut & Fill of construction sites, aggregates and mining industries are very concerned about the quantity of material moving and coming for production. Since the quantity is large scale and every count paid off, it is important to keep the right quantity and all parameters are checked. Quantities from how much is sitting in your stockyard to how much be going in your crusher or mill to how much you need to extract. Cut and fill volumes in almost every stage of the quarrying and mining processes are used.

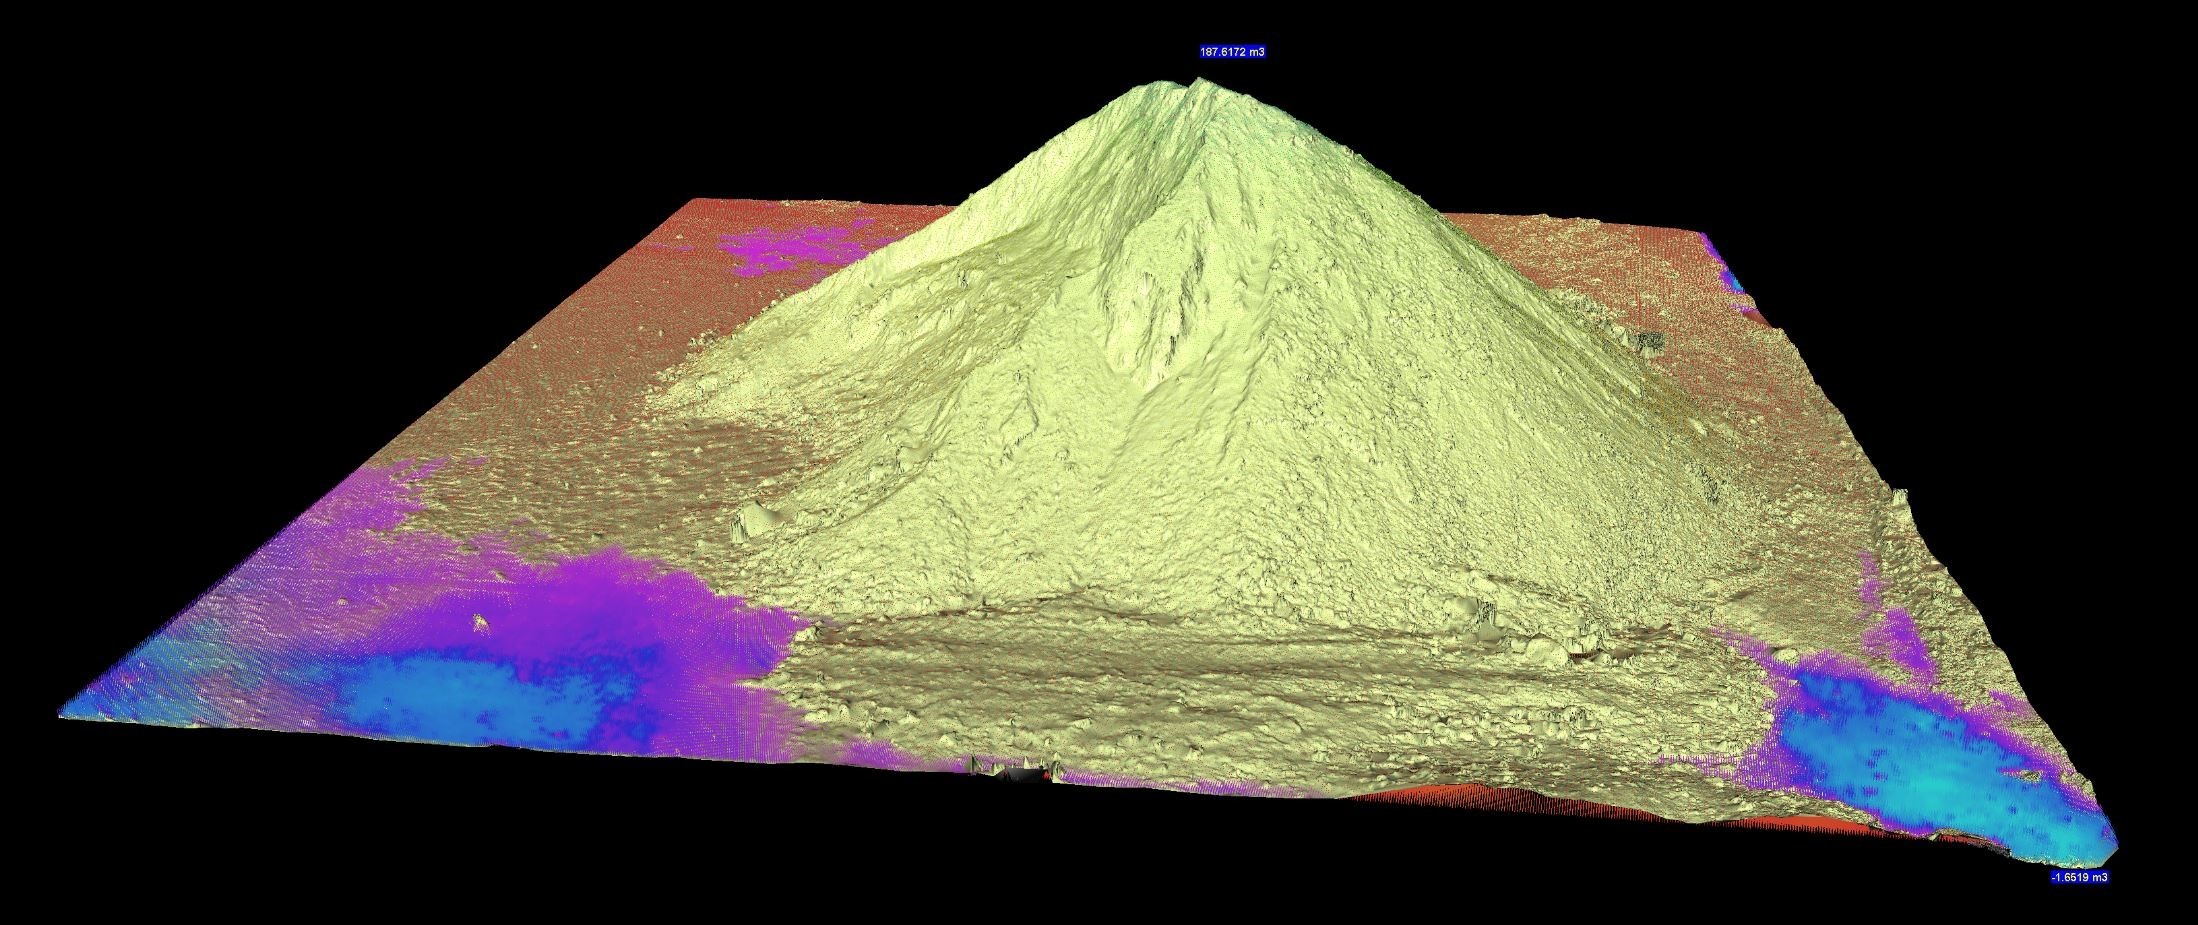
The 3D Laser Scanning deliver dense point cloud to make exact surface geometry to calculate accurate volume. The point cloud density is so close to 3-6mm point-to-point, which is exceptional for a clear surface geometry creation.

General Workflow
Volume calculation of different types of material and method used to calculate quantity gives various accuracy.
The method of works in general :
Site survey
- Site survey can be differenciated contact method and non contact method.
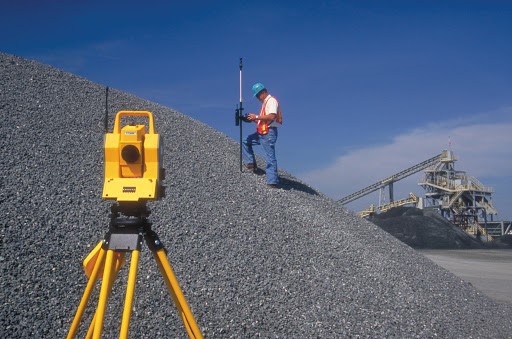
- Total station survey and GNSS methods are contact method.
- 3D laser scanning and Arial/Lidar surveys are Non contact methods.
Data Management
- Total station survey and GNSS mothod gives random postion points like top portion, intermediate bottom level of material.
- The data output from Arial survey is images or point cloud depending on the sensor using in it.
- When it comes to 3D scanning the datas are dense point cloud.
Data Processing
- Convensional survey processing directly done through Civil 3D or any other similar platforms.
- Advanced survey like Arial survey or 3D laser scanning require some data processing software to create the collected data into single file and proceed to surface creation.
Georeferencing data
- Generally collected data doesnt require georeferencing unless the client ask for it, since georeferencing gives much more detail of the current posion on earth.
Generation of surface
- Total Station, GNSS survey gives points which directly support for surface creation, hence it is normal N,E,Z format.
- Easy creation of surfaces, since using few points.
- 3D Laser Scanning data have enormous points as millions in number. It gives exact shape irrespective of material type. In a result the surface also exact as in site.
Calculation of volume
- For simple and general surface creation Autodesk Civil 3D is one of the common medium to calculate the contour and volume of surfaces.
- Arial survey data converted to surface and made volume out of it using Dronedeploy or Pix4D.
- 3D scanning uses different software to calculate volume, Trimble Business Center and Realworks are used commonly.
Volume report
- Volume report generated by any software in the sense of Cut – Fill manner hence any reference height or bottom surface used.
Comparisons of Measuring methods
3D Scanning
By using a 3D laser scanner, we were able to plot a course around and through the stockpiles in order to gather the data required for the full models. Since it is a non-contact measuring technology, we can avoid climbing on pile and making it loose. The scan data’s are point cloud format, which varies depend on manufacturer.


- Position accuracy is achievable in sub mm.
- Shape accuracy is up to 3mm.
- Millions of point collected in less time.
- Perfect shaped surface creation possible.
- Volume accuracy is better than 98%
- Accuracy of data can compensate the overall time taken factor (from site to vol. report).
GNSS Receiver :
GNSS (Global Navigation Satellite System) is satellite-based survey technology widely used for Control Point generation. It acquire surface point coordinate from satellite within 2mm accuracy. Hence the instrument also support one more function called RTK (Real Time Kinematic) which is surface to surface data transmission and measuring technology using internal radios. For general measurement within a few hundred-meter area, it is capable of delivering accurate results within 10mm precision.

The GNSS survey accuracy is limited to the point on the material surface we are placing the receiver pole. The bottom end portion is sharp enough to penetrate the material surface and we can expect an accuracy of 90% in results.
Total Station Method :
A Total Station survey is similar to RTK method of GNSS in terms of accuracy, it also using one target prism and pole that gives position accuracy within 10mm. Since the scale of project is large and every reading count in terms of quantity, it provide up to 90% accuracy.

UAV Flight Method :
A stockpile is one of the easy surface to calculate the volume, because of the conical shape and openly exposed nature. However, most of the time, stockpiles are irregular. The Drone survey captures the curves and irregularities, thus allowing the computer to calculate the true volume of the shape, i.e. a rough approximation. This accuracy starts with the imagery, and the accuracy of reference taken from ground. Drone photos capture more detail than shooting points with a rover. Photos let us to see the physical details between the individual points.

Both horizontally and vertically (Z values), drones are able to capture and render higher resolution data’s, that is just as accurate as traditional surveying when the ground control points are matched exactly. Correctly used, drones in conjunction with ground control can produce survey-grade accurate 3D surveys. One of the main drawback of using UAV survey is the result of detail depend on the no.of images taken on flight.
Sample Report

Conclusion
With 3D Laser Scanning, the volume calculation based on the three-dimensional surveyed surfaces get finest accuracy suitable for exact shaped surface creation which resulted up to 98% of Actual volume. The conventional volume calculation methods are material contact methods and which results up to 90% of accuracy only. The comparison with surface models generated with an Arial survey, which through the extraction of GCPs also provided the absolute reference system, showed average errors of a few centimeters from the value considered as ground truth.
- Considering time taken to survey the site, almost all technologies require same time. Arial survey relatively take less time than others do.
- Preprocessing of data for conventional survey methods not required, both Arial survey and 3D scanning require preprocessing of data.
- Accuracy in order of 3D Laser Scanning (~98%) > Arial Survey (~95%)> Total Station Survey (~91%) > GNSS (~90%)
Conserve Solutions will be happy to assist your projects. Our offices are located in India, UAE, Qatar, Saudi Arabia, Canada, United Kingdom, Egypt and Singapore.
Author


